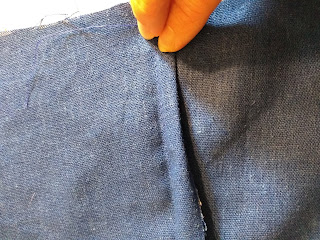
There are about eleventy-billion blogs and websites out there that will show you how to make a finished seam.
French seams are my favorite, but are a pain in the neck in clothing, when you are trying to finish the corner where 2 seams come together. Also, they take extra fabric, and pre-planning if you're going to use them.
Flat felled seams are the kind that most people recognize when I say "think of the seams in your jeans". This type has a stitch that will show on the outside of the garment, so that needs to be taken into account. Otherwise, they are finicky to do, but totally possible to make look professional and pretty.
When working on NJ's Medieval Gown most recently, I had not planned ahead for French seams, so I elected to do flat felled seams after I realized that the fabric was going to fray badly, and needed some kind of finished seams.
I took a butt-ton of pictures, so I could show you how I do this, and make sure the Internet has eleventy-billion-and-one blogs to show you how to do it. ;)
Step 1: Sew your seams with the planned seam allowance, and press open.
Step 2: Trim just ONE side of the seam allowance on the inside of the garment. I use pinking shears for this step:
Step 3: Fold or roll the uncut seam allowance over the cut side, and press down. You basically want to make a pocket for the cut seam to fit inside, hiding all edges.
Step 4: Stitch the seam down along the folded edge of the "uncut" seam allowance. This is the stitching that will show on the right (outside) of your garment, so you want to make this one as neat as possible! You can see in this picture where the stitching ends, and the fabric roll is meeting up with the bias-tape I installed.
And that's it!


Comments
Post a Comment